Stride FX + StrideBridge - Changing the Game for Sound Design?
6:50Watch on YouTube
Transcript
913 wordsFrom the video's captions, lightly cleaned. Press a timestamp to play from there.
Hey guys, I'm going to make a walk-through. Now it's half walk-through house, half workflow. I don't know really how to call it, but right now Stride have three devices, so I think it's something that we should I should put a video on. And so right now, as you can see, we have three devices. You have StrideBridge, Stride Effects, and Stride that you all already know. Yeah, so the main thing that I want to make this video about is how to work with StrideBridge and how to modulate Ableton Rex with the Stride VST because this is the I think the thing that we all have been waiting for.
And it's super awesome and versatile. So the workflow is pretty simple. You have a new track and you drag Stride. And after that, you drag StrideBridge. And here I already have something with the synth. So I'll just show you the flow. Map some of the Serum parameters, so you can see them here. Also, a new UI is in and I love it. And more mature. And yeah, so I've I've applied curves on Serum, and now let's say that I want Corpus as well to apply some curves on.
So the flow is very simple. Like if you have StrideBridge on your track, you press here on map live, and then you just map the parameters from Corpus and you will see them here and you can apply curves on them as well. And as you can see right now there are modulated like an LFO. But also if you want you can inject to the clip these curves and the way you do that is super simple.
You make sure your clip is selected and you press inject. And now when you pressed inject as you can see there are all automation lanes in Ableton and if you want if you then want to change the curves in Stride and take back the control you press on take back and now it's back to modulation mode and as soon as you're going to change it will change again and if you want to inject to clip the new stuff so you do it.
Basically most of the time I'm not injecting into the clip. I'm just recording a lot of nice outputs and then I use them in I don't know in some a lot of different ways not specifically drawing a specific automation. But yeah it's nice and also I wanted to show you another stuff here before we move to the third device which is super awesome and useful. Yeah a few a few changes here like most of them is in the focus view.
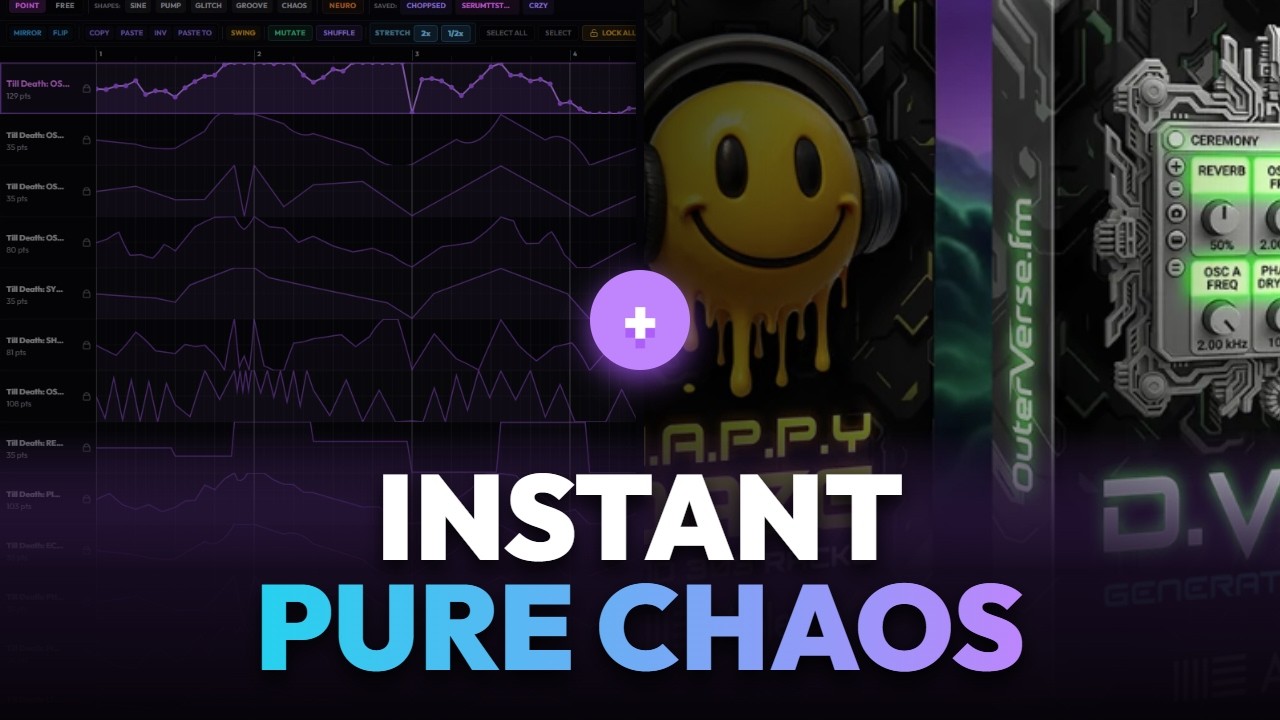
I really a lot of users asked it for me and I think it's like it deserved to be treated well and so I implemented a lot of really nice drawing options in here. You have swells you have signs you have you have whatever you want. Also of course you can have the free mode. And you can select with control and drag you can select few dots and Sorry. You can select few dots and drag them. There is a bug here.
I need to fix it. Anyway, you can drag the dots and yeah, you can roll like mutate it or something. And yeah, that's basically it. With the updates also for you guys who don't know, you can see here the icons what each feature does. And I don't know if I made a video about it, but you can set different loops for each modulation, which is also really nice and useful. And yeah, that's it for the for the known device that we already know.
And now what we have, we have also Stride effects. What does it mean? It means that you can load Stride effects, which is an audio instrument, and you can load it after operator or whatever synth you want to work on, and you don't want to like to host it inside Stride. And yeah, you can work with it like the same workflow, exactly. Just that you don't have the synths inside Stride, you have them outside of it. And you need to of course map live the map the original map button will not work.
And another nice feature that I added that someone asked me, and I think it's really powerful, is that when you set the range so that the curves itself won't squash into that range, because if you want to make micro tunes micro edits, then it's really hard when you when you cannot see the full like the full range of the of the pattern. So, you will see the full pattern, but in real life what will happen is that it will move only between the range on the knob. It will move only between the range that you set.
So, Yeah, and also a really important thing, if you want the inject feature to work, you have to make sure that that here in the Here in the link 10.1 video, like the control surface, you have Stride inject selected in order for it to work. And yeah, that's it. I'm going to upload this release right now. After I fix this multi-select of the points. And yeah, guys, I'll set a I'll send a proper mail for anyone for everyone just so you can have it. And yeah, enjoy.
More sessions


Somewhere in your setup
is a sound you haven't met.
24 hours, fully unlocked, on your own tracks. Then one purchase: $99.